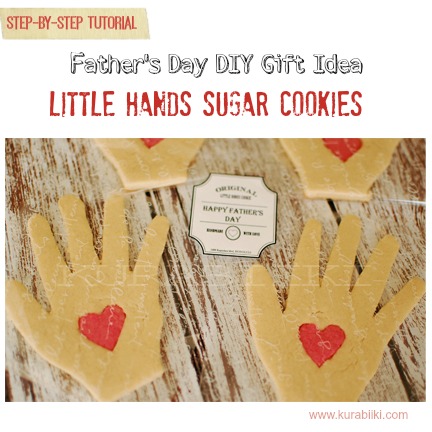
 With Father's Day in just a few short days, why not bake up a batch of these sweet little treats for him? These cute cookies actually take on the shape of your little one's hands, making them the perfect treat, straight from the heart for Father's Day! We are going to show you just how to make them, too! Just simply follow the step-by-step tutorial we've outlined below for you, and soon your whole family will be enjoying scrumptious cookies! First, we will start with what you will need to create your cookie masterpiece: Little Hands Sugar Cookie Recipe 1 Cup of unsalted butter (warmed to room temperature) • 1 Cup of Sugar • 1 Large Egg • 1 tsp. Vanilla Extract • 3 Cups Flour • ½ tbsp. Salt • Cooling Rack • Parchment Paper or SILP Pad • The Outline of Your Children's Hand • Rolling Pin • Cookie Sheet • Red Food Coloring (My favorite brand to use is Americolor!) Father's Day Sugar Cookies Tutorial 1) Cream together the butter, sugar, egg and vanilla extract. In a separate bowl, sift together the flour and salt. 2) Step-by-step instructions for making and rolling your dough can be found at this link 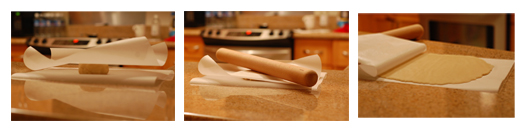 3) Trace your little one's hand onto a piece of paper(parchment, wax or regular paper), to create the template for your cookies! 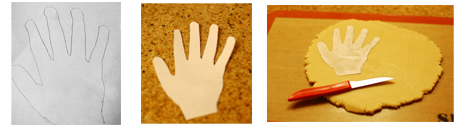 Once you've done that, you can place the template directly onto the dough and cut around it with a sharp paring knife. Tip: Chill your dough in the freezer for two minutes before and after you cut out the shapes. It is much easier to work with firm dough. 4) After you've cut out the shapes, remove the excess dough around the cookies using a pointed spatula or a paring knife. (chill your dough again if you have to) 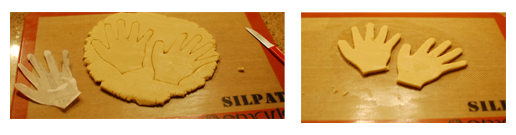 5) Use the red food coloring to dye a small amount of your dough. The red dough will be used to create the little hearts in the middle of the hand. Tip: I would suggest wearing food-safe gloves when dying your dough, to avoid staining your hands. 6) To create the heart, use a very small heart-shaped cookie cutter or a paper paper template to cut out the hearts. My daughter’s hand is very small, so I just fashioned a small heart on paper and create a template to fit the cookie size. 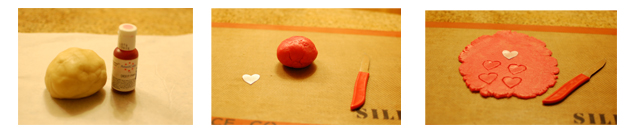 7) Chill the dough in the freezer for about two minutes before you remove the excess dough from around the hearts. Chill the hand-shapes for two minutes in the freezer as well. 8) Using the same template you used to create the hearts, cut out a heart shape in the middle of your dough hand shape. 9) Place the red hearts you previously cut out, into the middle of your hand cookies. 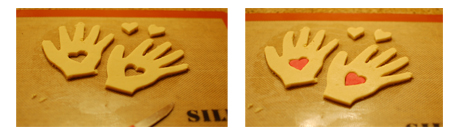 10) Chill in the freezer for another two minutes. Remove them from the freezer and slide the parchment paper (or SILP pad) with the cookies onto your cookie sheet. 11) Bake in an oven preheated to 375 degrees Fahrenheit for 7-10 minutes (depending on the thickness of your cookies) – or until the edges are a golden brown. **The cookies on the picture below are packed in ours scribble design bags, but you can use just a clear cellophane bags to pack your treats. However, packing your treats in a self-adhesive lip bags will extend their shelf life with at least a week. Enjoy! 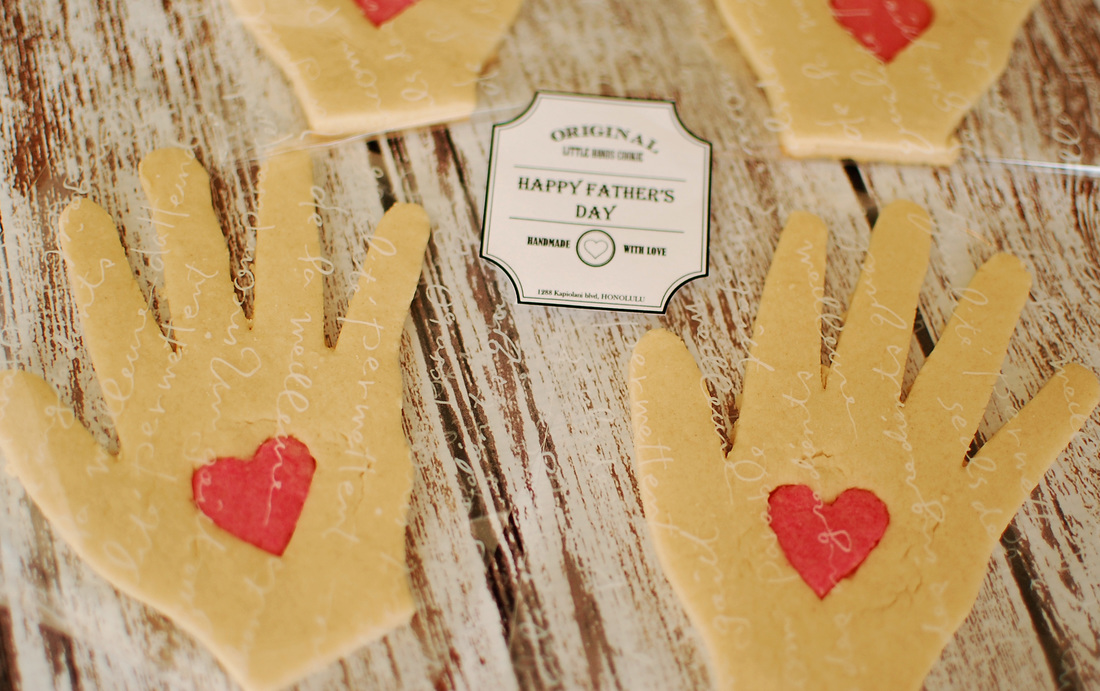 Please share comments and questions here or on our Facebook page! We would love to hear how your cookies turn out and see pictures!
1 Comment
|
AuthorWelcome! I'm Silviya, a Mom of two beautiful girls and a wife to one amazing man. Find out more about me here Archives
January 2021
|
 RSS Feed