
When it comes to my little one, jewelry is always a win so when she wanted to have a “sparkly jewelry party” for her 6th, I convinced her that we could put a whole new twist on that idea with a daisy party instead, using Daisy Cookie Rings as edible jewelry! They were such a hit with the kids and the adults that I just had to share this fantastic dessert idea with you all! It is one that can easily be used for birthdays, engagements, anniversaries, favors and more.
First the Cookie Dough
To start your adventure in cookie ring making, you need cookie dough of course! This recipe is inspired by the LilaLoa's recipe and its a delicious starting point that is simple to create.
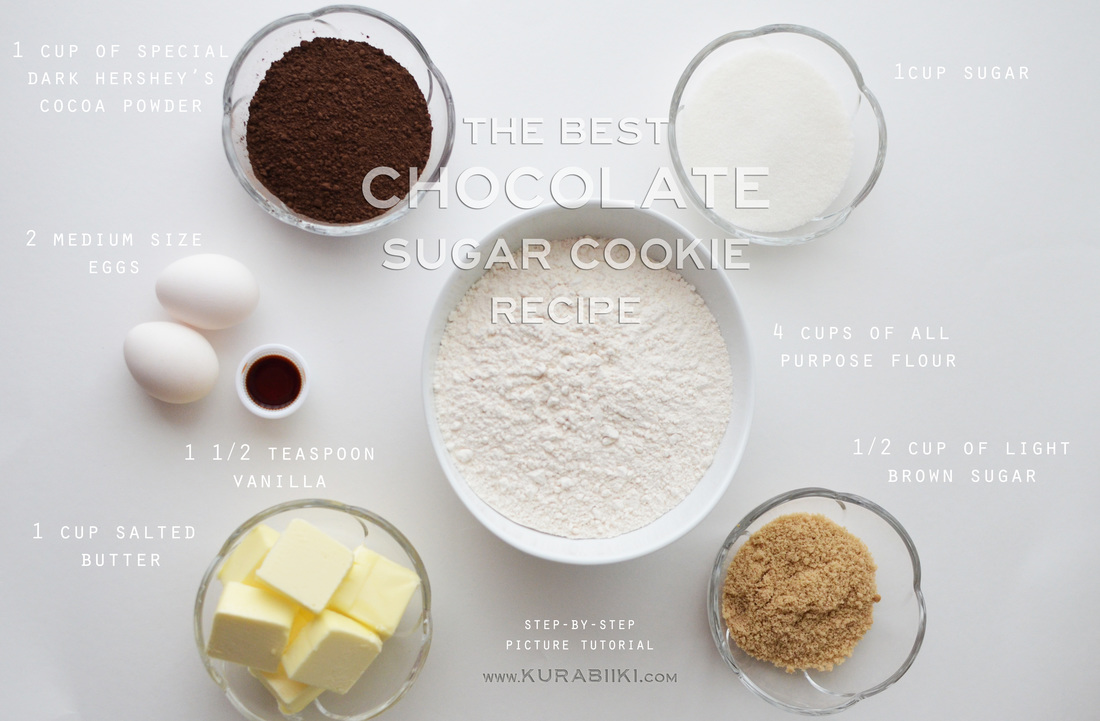
3-4Ingredients:
1 cup salted butter ( you can use unsalted as well, just add a pinch of salt) 1 cup white sugar ½ cup light brown sugar 2 large sized eggs (17mm) 1 ½ tsp vanilla extract 1 cup dark cocoa powder 2.5 - 3 cups all purpose flour Instructions:
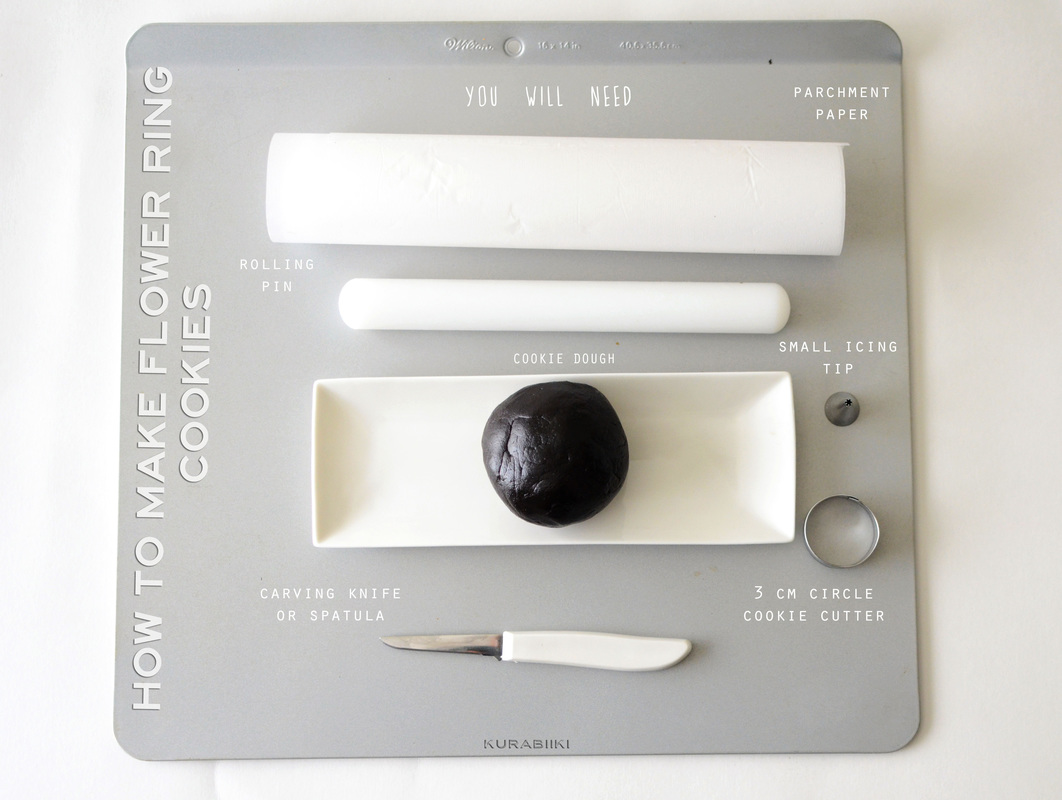
How to Make Your Flower Cookie Rings
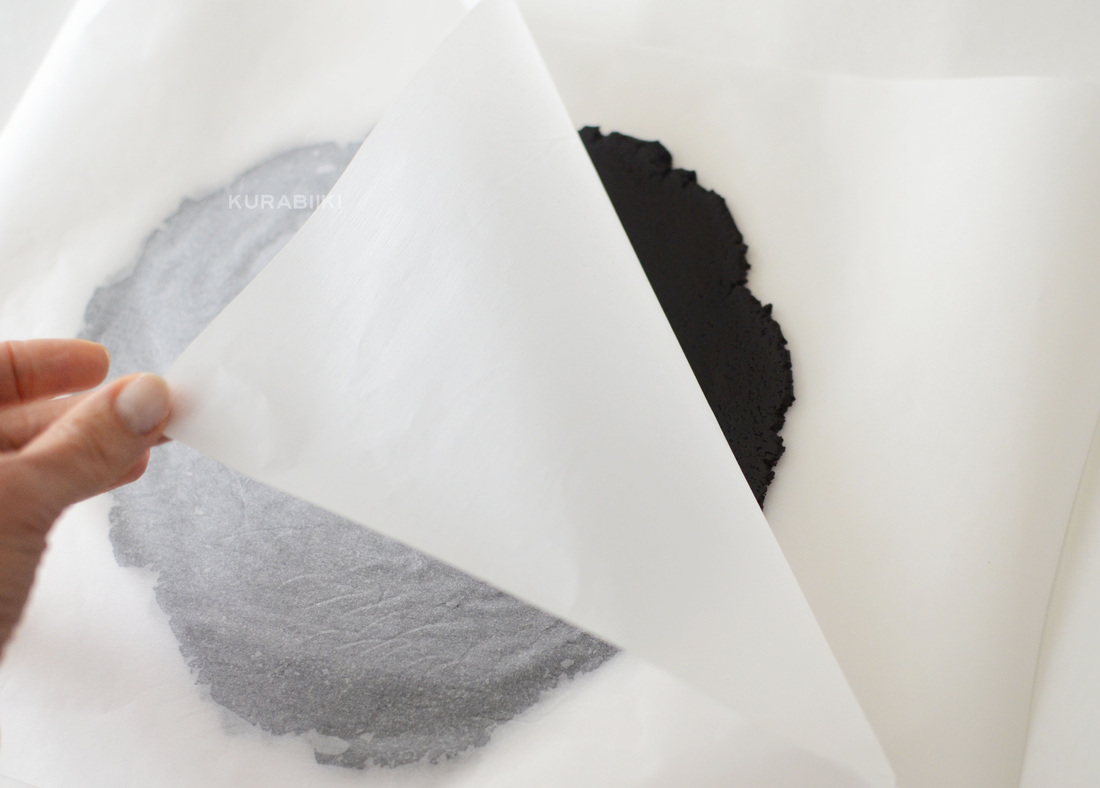
After you have gotten your dough nice and chilled it is time to make your rings. For this part you will need your dough of course as well as a cooling rack and parchment paper (or a sil pad).
Making Cookie Rings
Items needed:
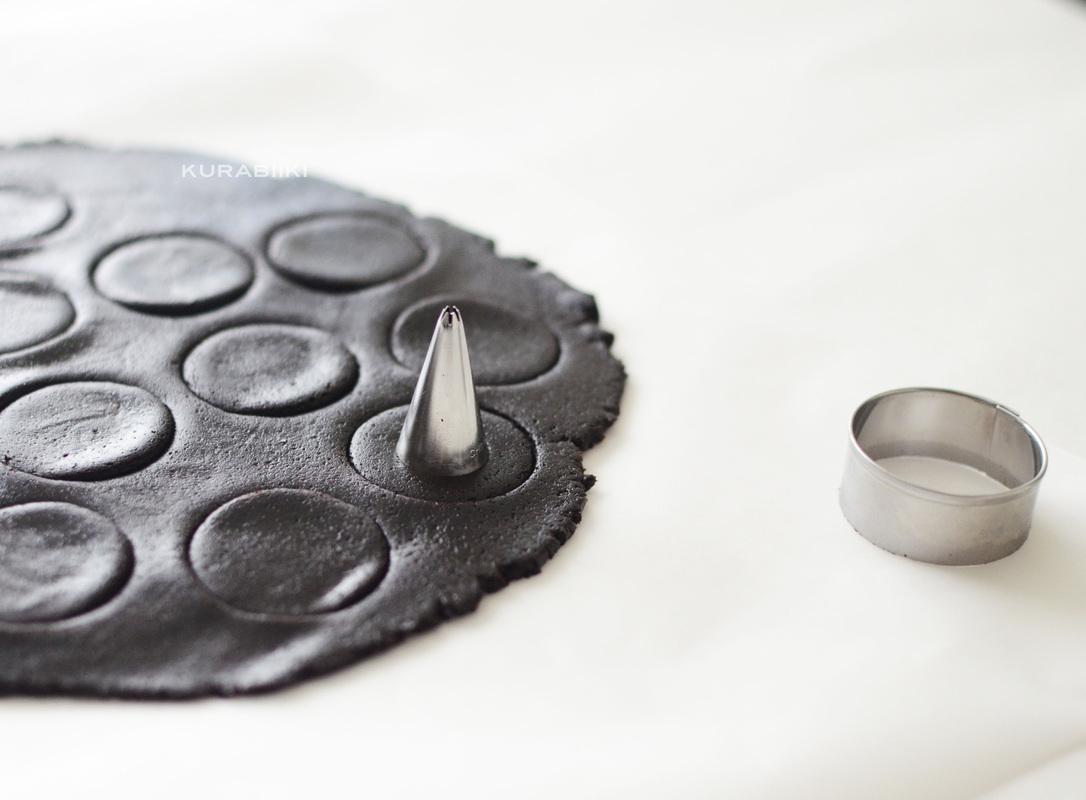
Chocolate cookie dough Cooling rack Parchment paper or sil pad 2 circle cookie cutters - 3.5 cm and 2 cm Tip: You can use your icing tip if you have a hard time finding a small circle cutter Rolling pin Cookie sheet Piping bag, coupler and Piping tip #104 - rose tip
Instructions:
Preheat the oven to 375F.
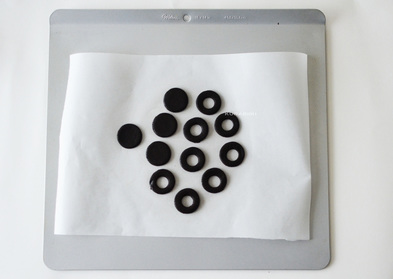
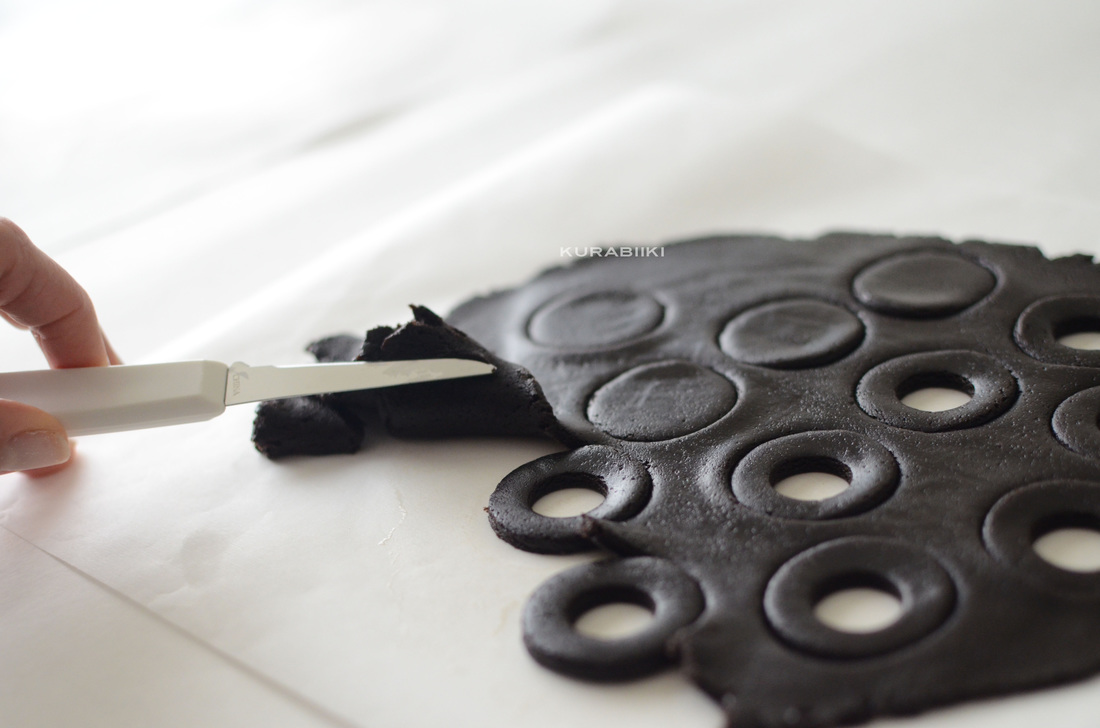
5. Cut circles out with your bigger cookie cutter, leaving just a small space in between the cookies. Cut another circle inside of the big one. This makes up the “ring” part of your cookie. You will need two ring pieces and one top for each cookie. The top is the same size as the ring, just made with one cutter and no smaller hole in the center.
6. Using a small knife or a pointed spatula, remove the extra dough from around the cookies.
7. Slide the parchment paper (or sil pad) with the cookies onto the cookie sheet and bake for about 10-13 minutes. (baking time depends on the thickness of the cookies.)
Time To Make Some Icing
In order for these cookies to become beautiful and tasty daisies, they will need some icing. In my royal icing recipe it turns out white, which is a typical daisy color of course. You can always add some food coloring to create your own flowers for your special occasion. In order to assemble the rings you will definitely need the icing so here is my Royal Icing Recipe!
How to Make Royal White Icing
Ingredients:
4 large egg whites 2 pounds of powdered sugar Instructions:
Let’s Assemble the Rings
Now for the fun part, putting together the delightful and edible treats for your party!
Instructions:
Here is a short video of how I made the cookie rings. Follow me on Instagram for more Cookie Decorating Videos, Tips, tricks, recipes and more https://www.instagram.com/kurabiiki
Questions? Comments? Leave a note here on our Facebook Page
2 Comments
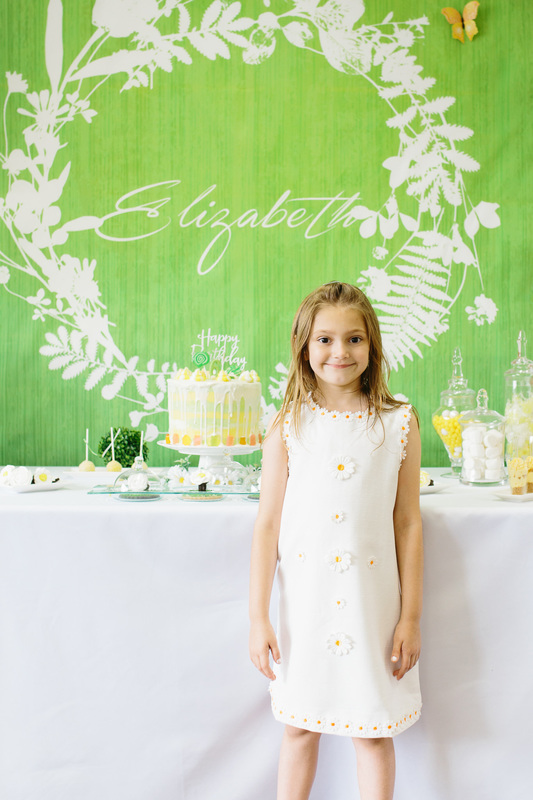 I was so excited when my little one wanted to have a Daisy Birthday Party this year, it allowed me to create a gorgeous layout with natural touches and sweet colors! Using white, yellow and green, I was able to give my venue a sophisticated and fun styling that I was sure Elizabeth and her friends would love. 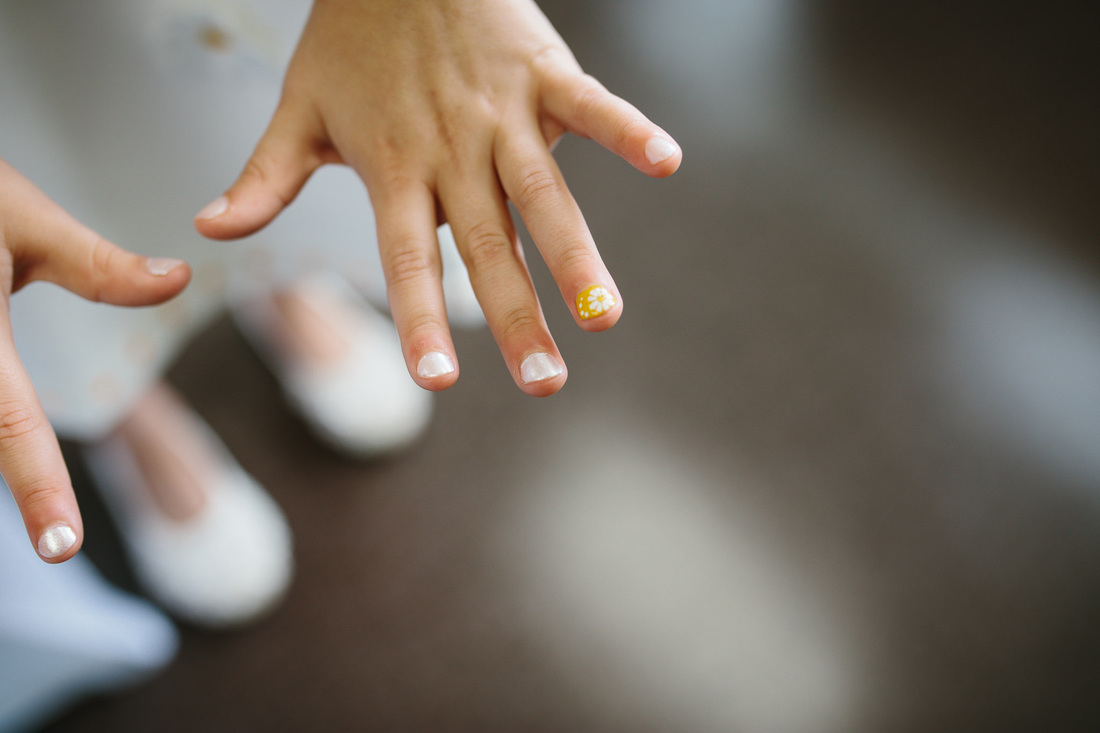  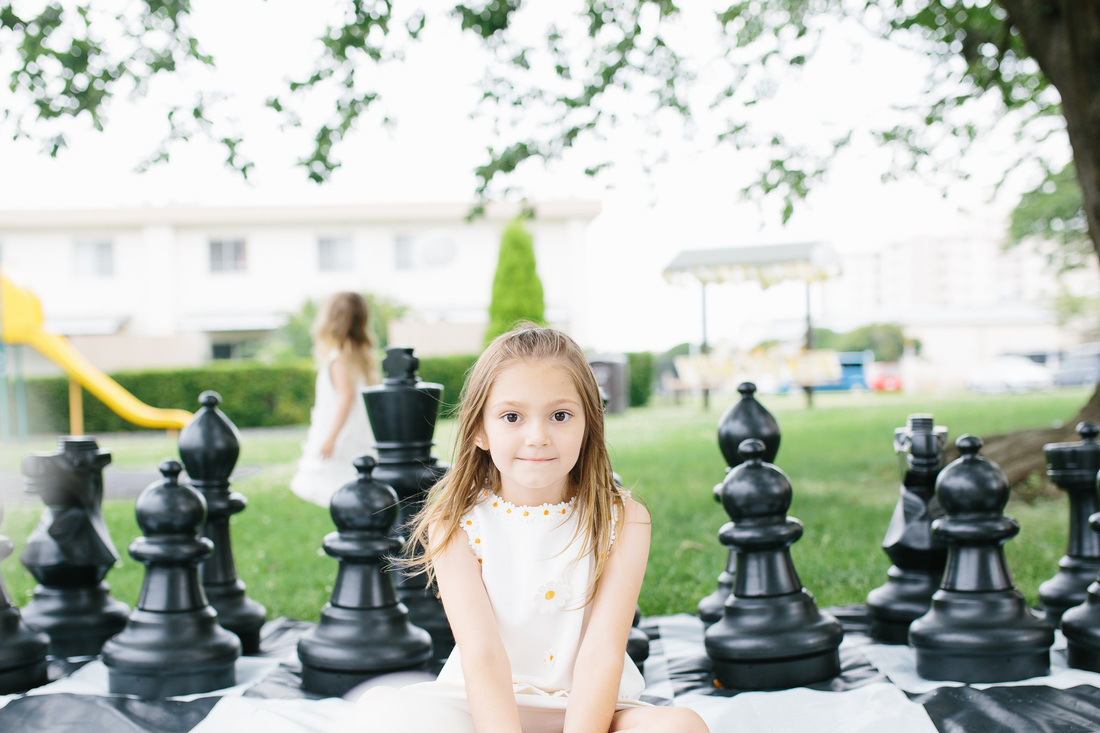 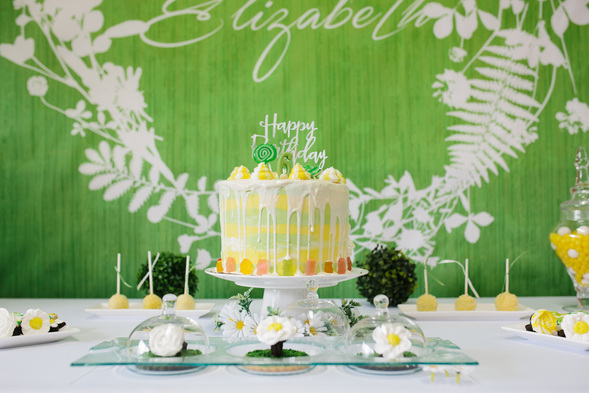 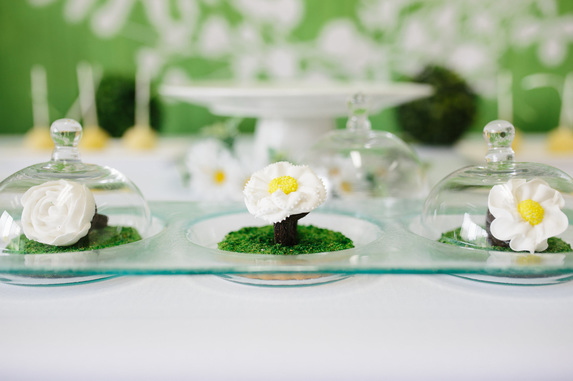  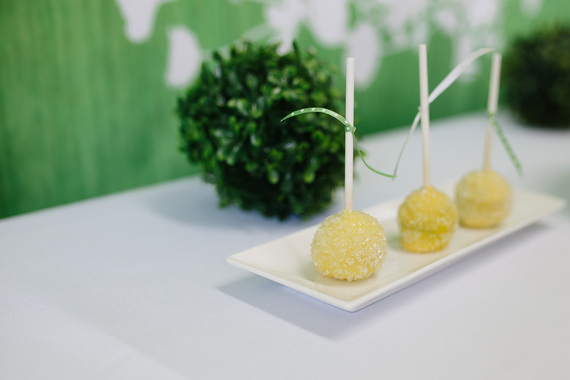 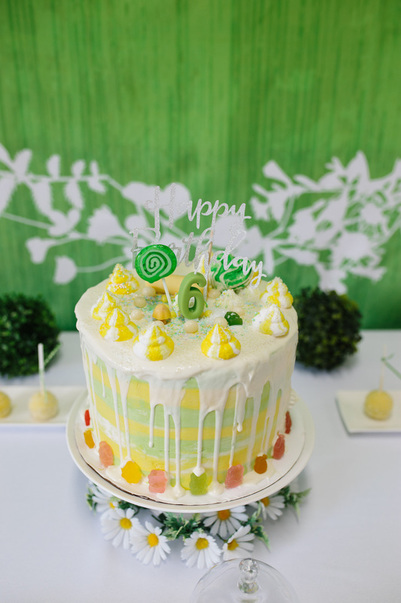 I used a stark white cover to set the stage for my sweets table, allowing the yellows and greens of the decorations and snacks to really pop. On this table I showcased the cake that I made. It was a chocolate cake with Italian meringue buttercream that was covered in white chocolate, white and yellow meringue, Italian macaron and as a finishing touch, lots of colorful gummy bears! The cake tray was then circled with a ring of daisies for a sweet effect. A favorite treat that I made were daisy rings that were such a hit that I created a tutorial that you can check out! At the guest tables, I used white again as a base, to blend with the other tables perfectly. I created adorable daisy centerpieces that stood low so the guests could easily visit while enjoying the decorations. Matching tableware added color and fun to the tables. I had white chair covers for an elegant touch. 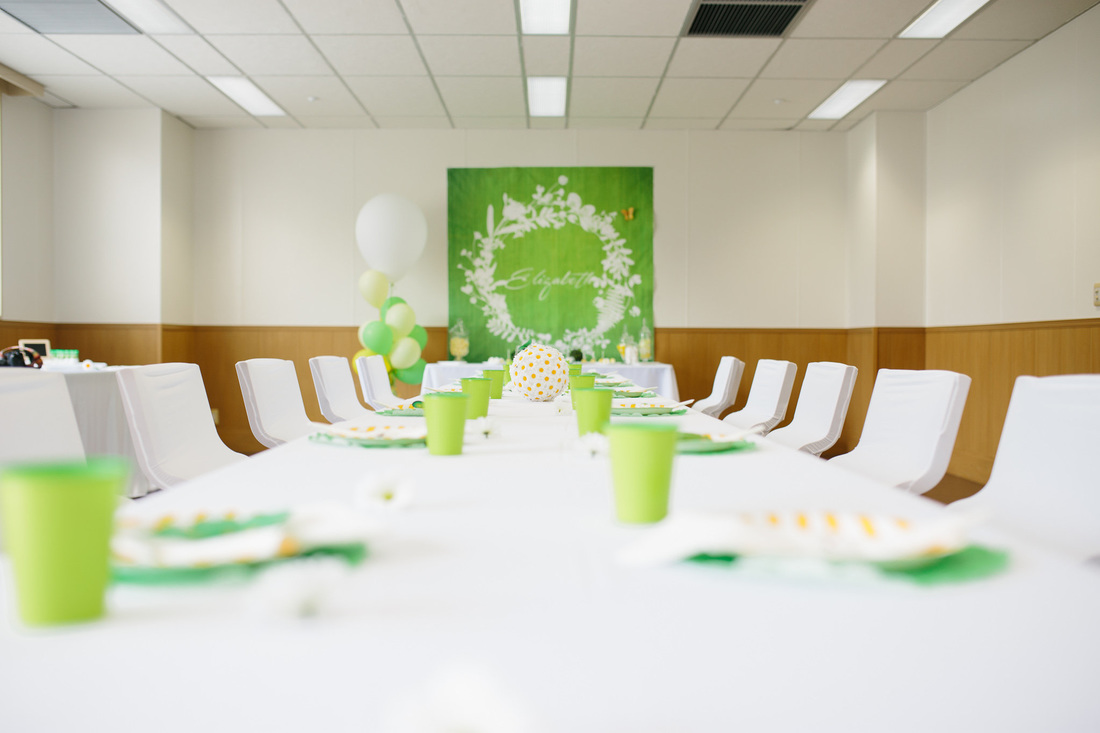 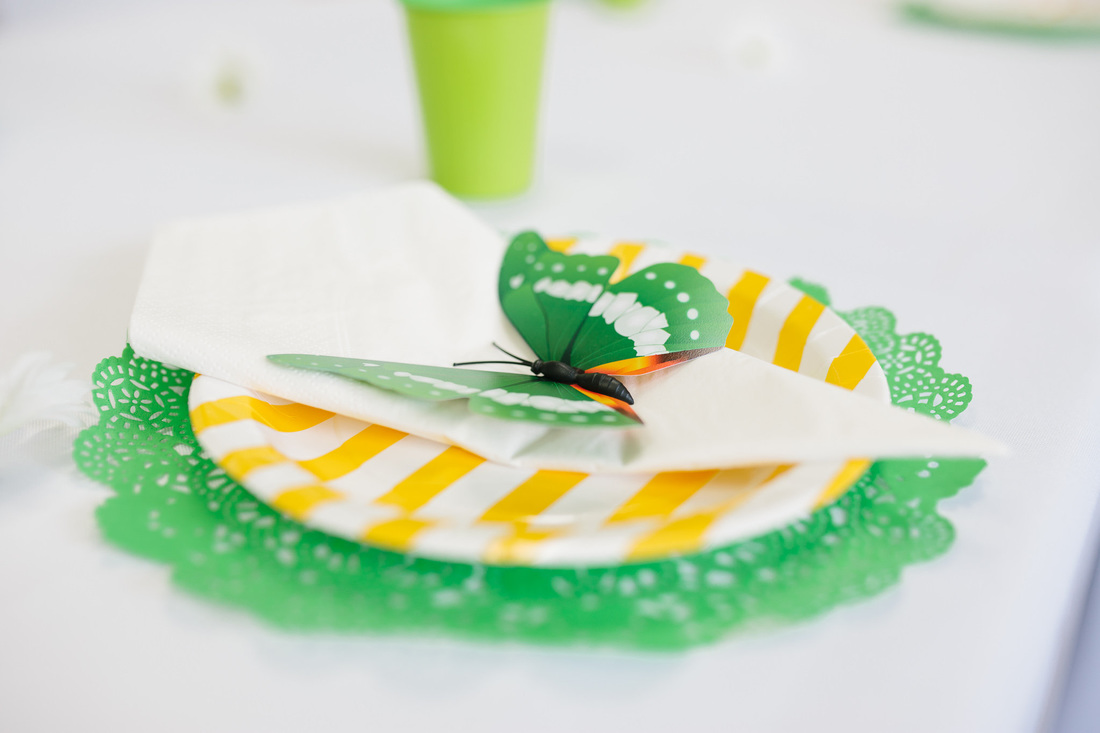 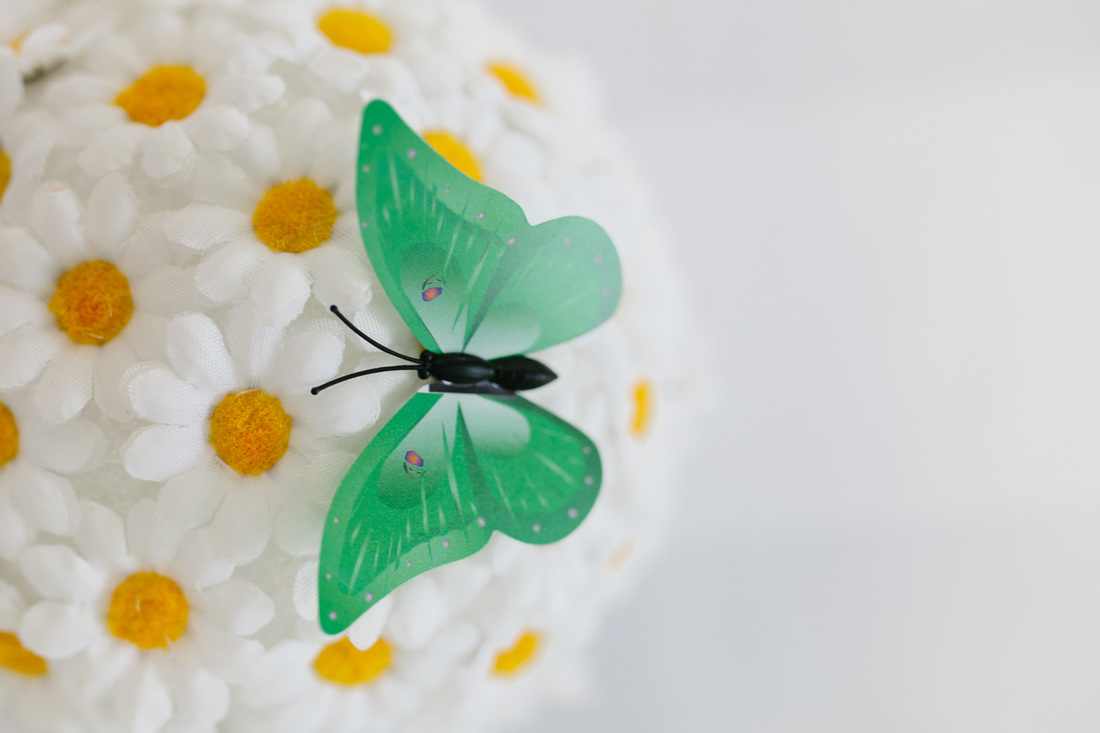 On the other side of the room, there was other snacks including fruit, vegetables, juice, a daisy shaped quiche, and of course, even daisy picks for the cheese!  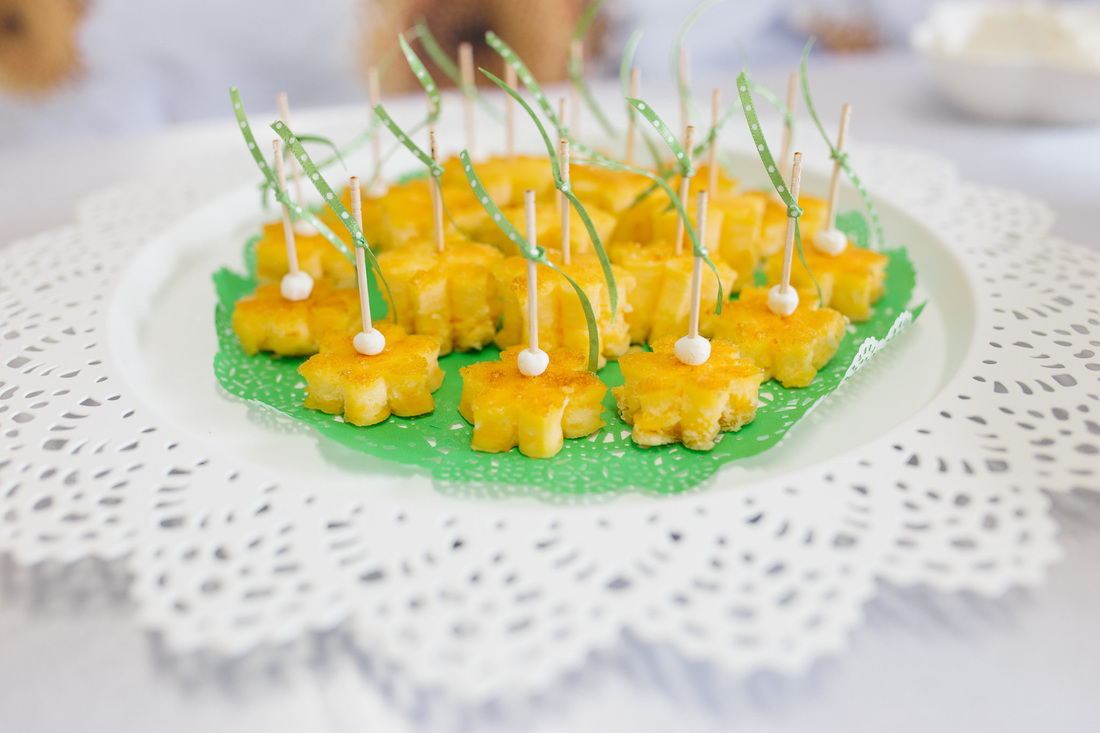 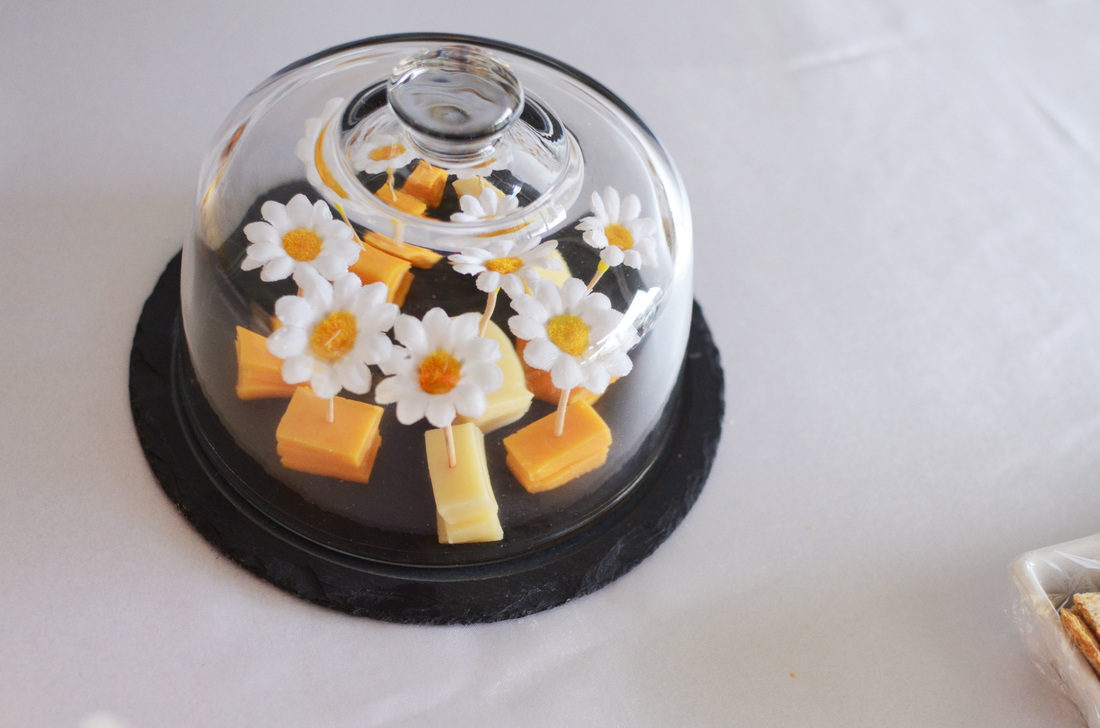 For the kids, Elizabeth had a fantastic Daisy Stand set up where her pals could get daisy headbands and green bow ties as well as lace ribbon wands to allow everyone to match the theme in a creative way. 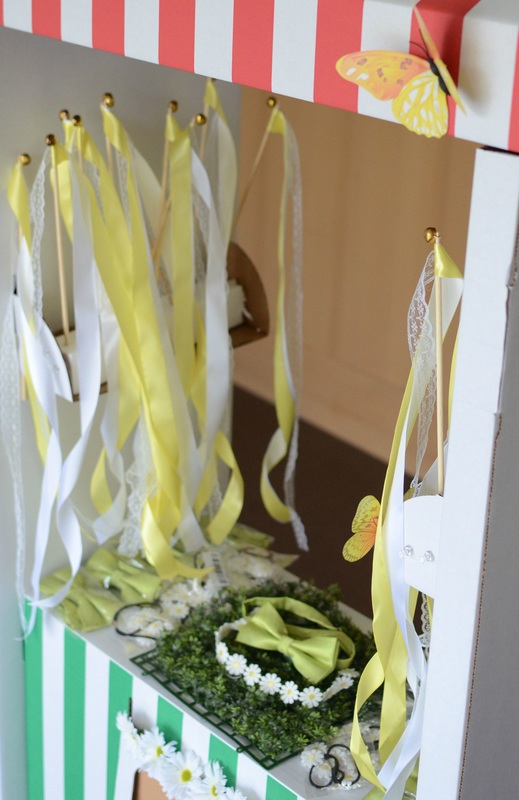 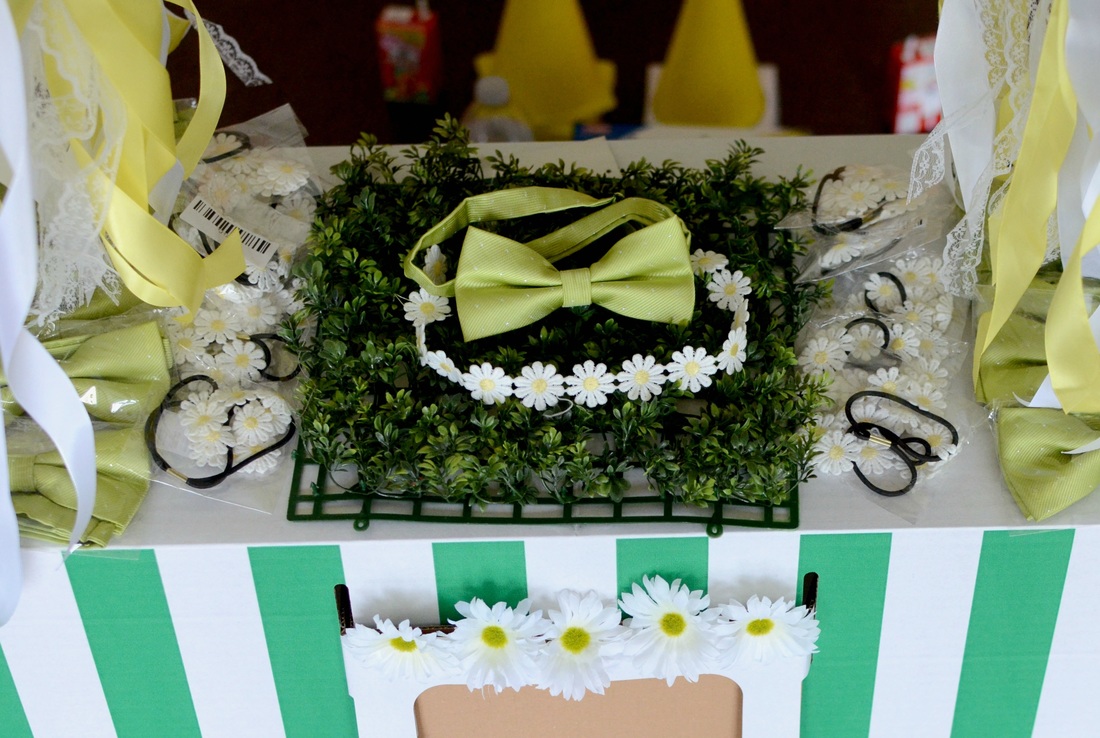 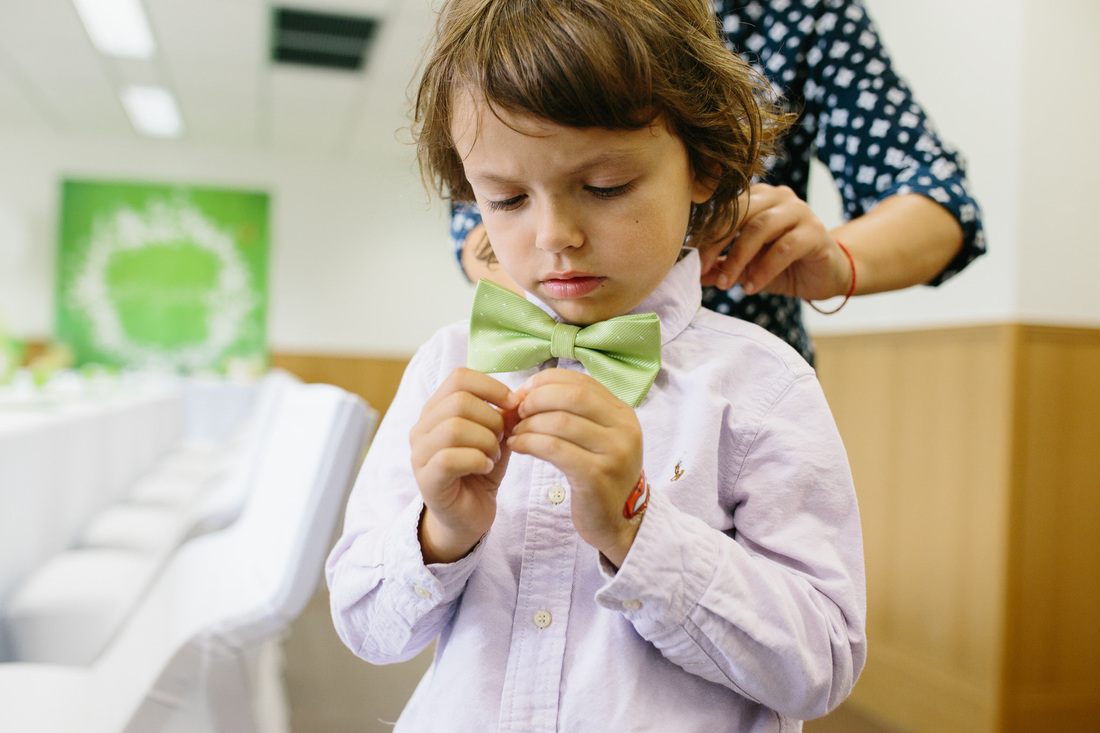 She even had her own special lemonade stand outside for all the little ones to enjoy. Other activities that they got to participate in included giant chess, croquet, ring toss and an adorable little tea party tent.  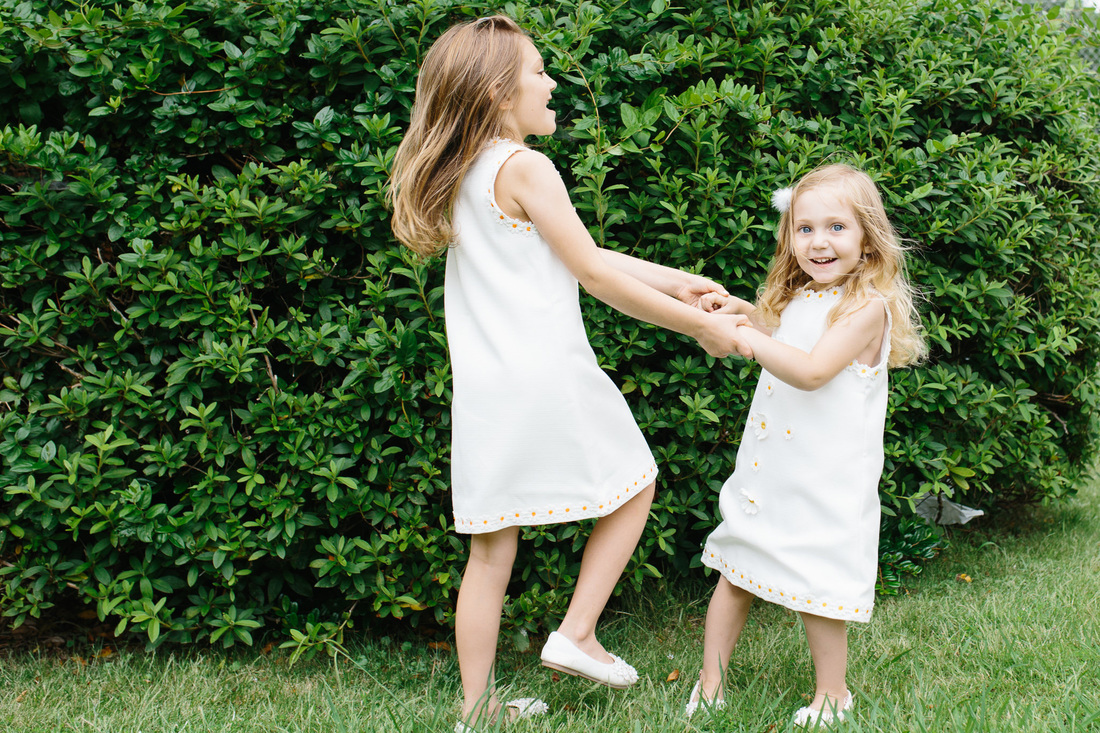 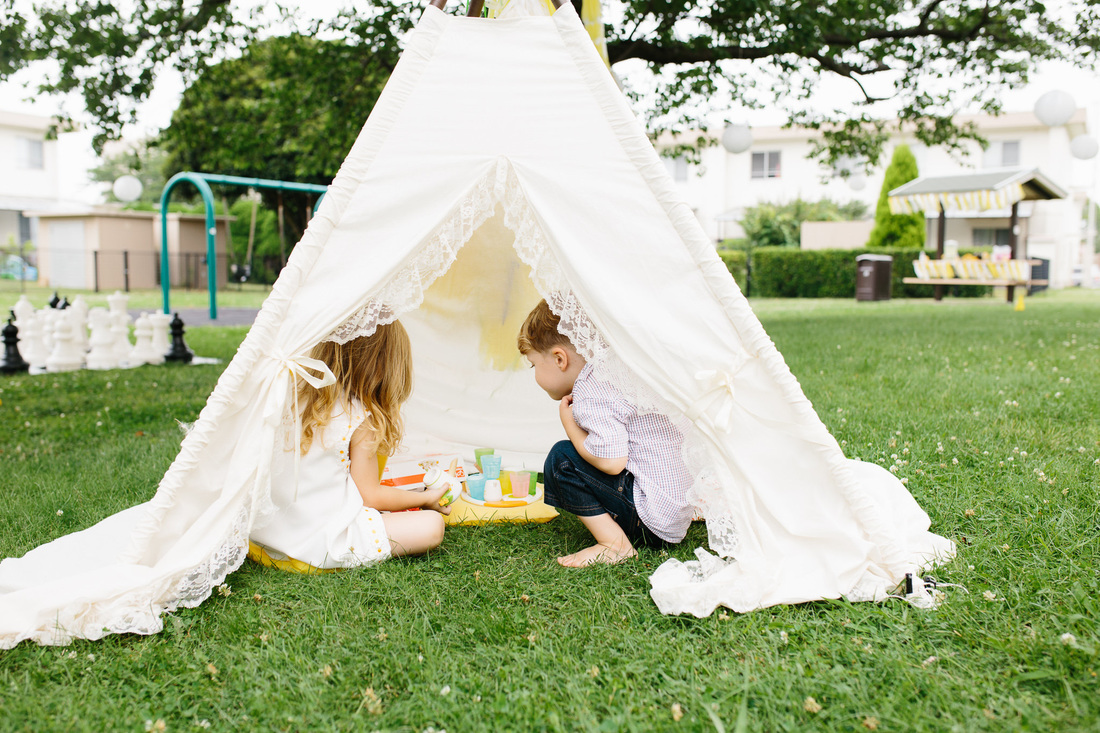 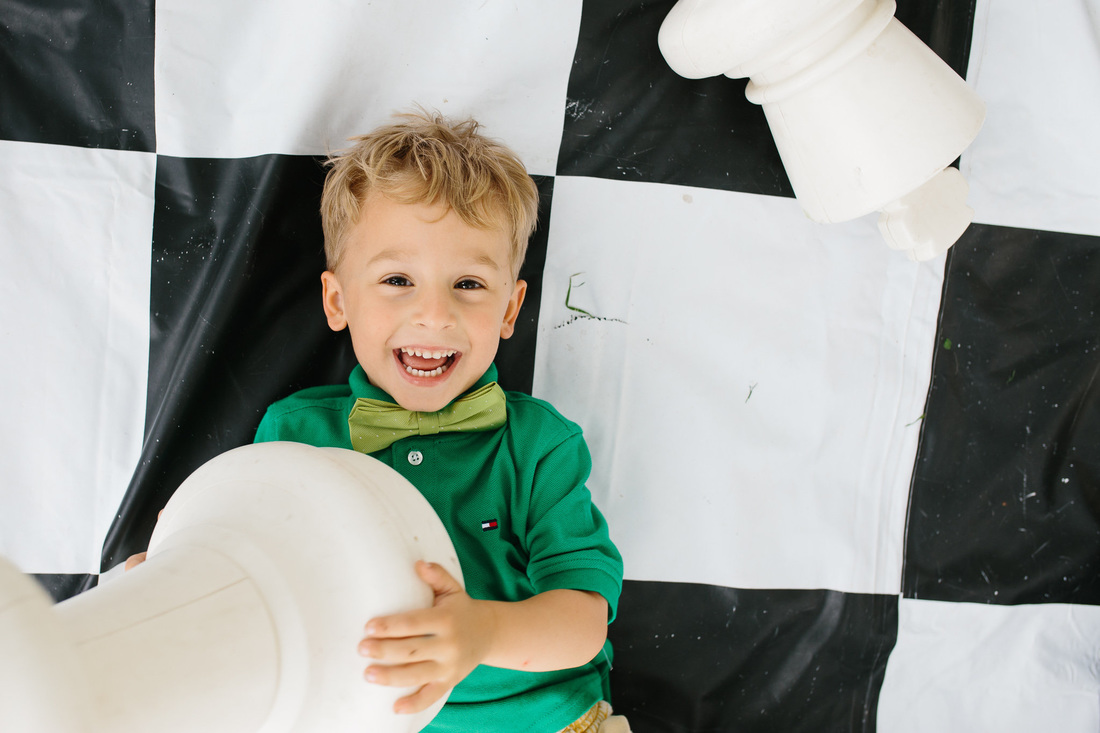 To thank the guests for coming I put together favors which had copies of “A Secret Garden” coloring books, colored pencils and a packet of daisy seeds with “Forget Me Not” printed on them. 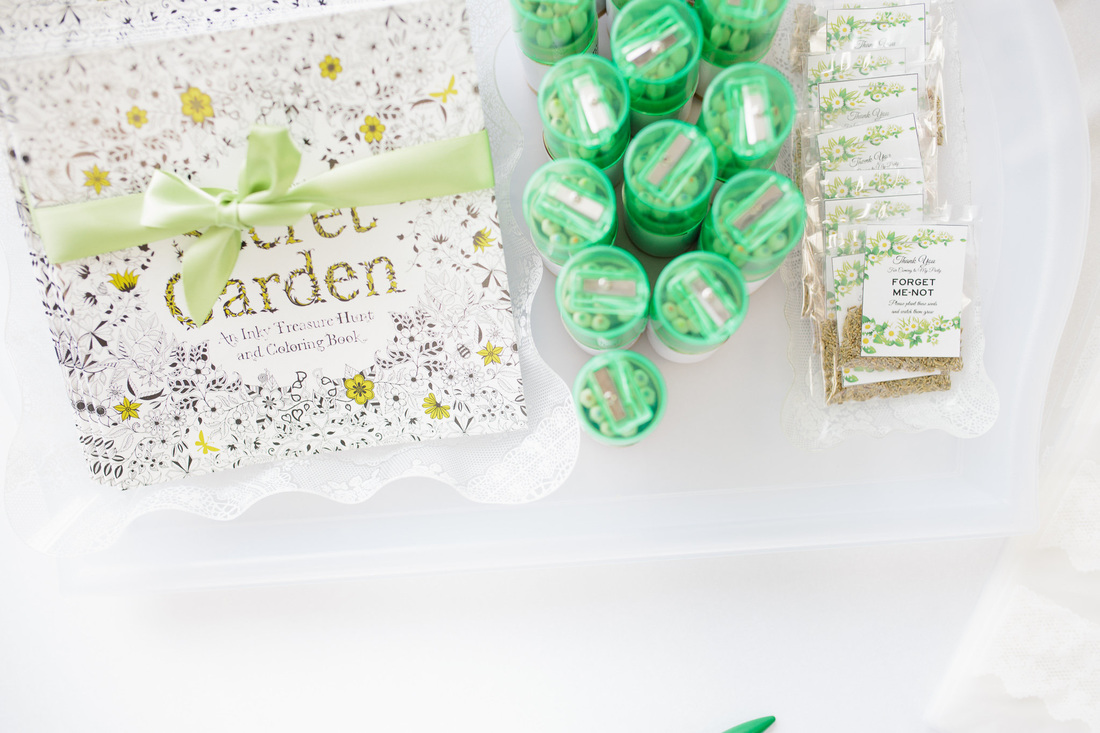 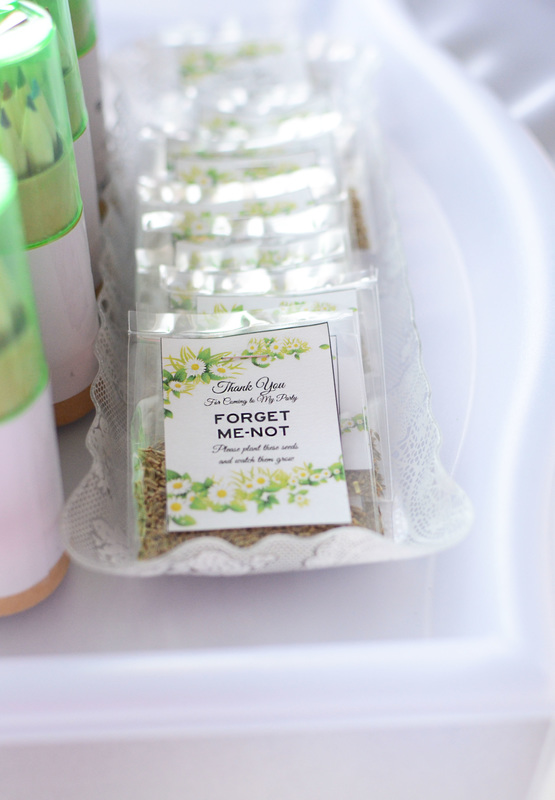 Vendor Credits – Planning/Design/Styling – Silviya of Kurabiiki Photography – Rachelle of Rachele Frickey Photography Venue – Yokosuka Naval Base, Japan 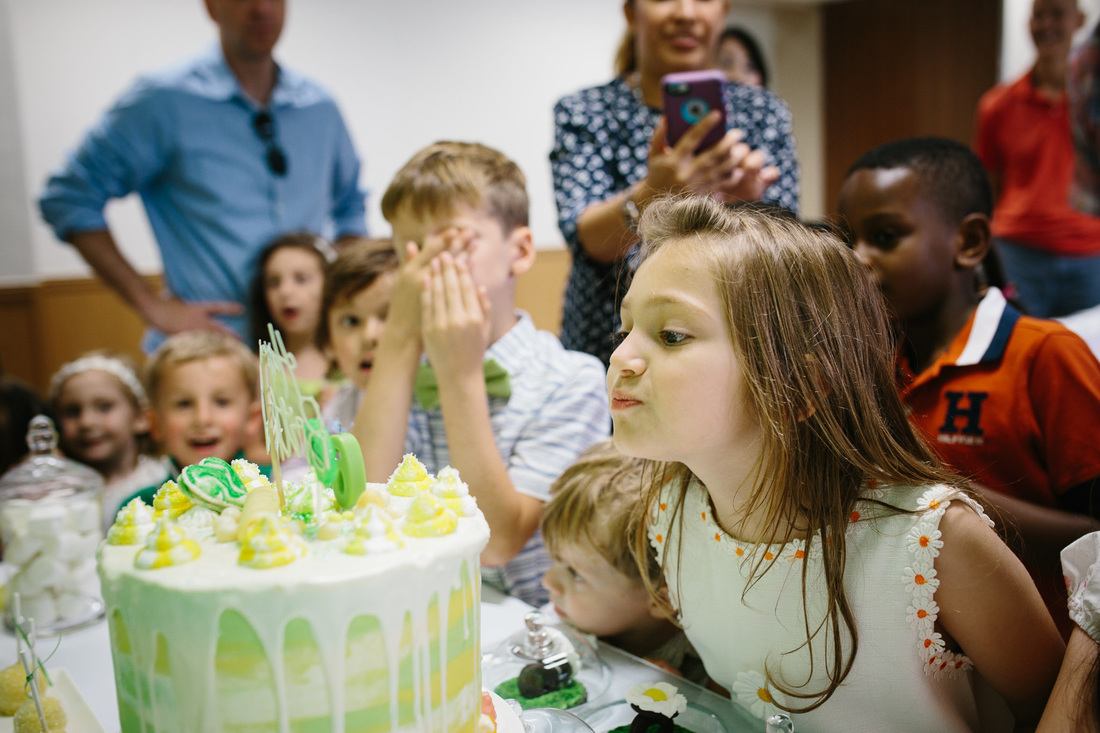  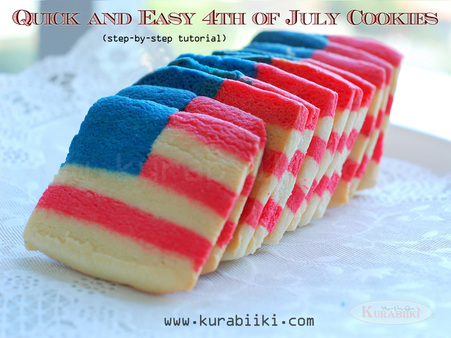
Iced or frosted sugar cookies look beautiful but they do take a lot of time to prepare. On average you would need at least 2 – 3 days in order to bake, ice and decorate them.
If you are short of time but would love to have delicious and beautiful 4th of July cookies on your table this step-by- step guide is for you. These cookies take less than an hour to prepare and they taste heavenly!
The Best Cookie Dough Log Recipe
This is my mother-in-law’s recipe. Please use with caution. The first time I used this recipe I ate about half of the cookies BY MYSELF! If you change the design, you can make these delicious, light and airy cookies to fit any occasion. However, if you planning to frost your cookies with Royal Icing I would highly recommend that you use this recipe. 1 ½ cups sifted confectionery sugar 1 cup butter 1 egg 1tsp vanilla flavoring ½ tsp almond flavoring 2 ½ cups sifted flour 1tsp cream of tartar 1tsp baking soda
I would recommend that you refrigerate the dough for about 2 to 3 hours before you start working with it.
Divide the dough into 3 parts. Use red and blue food coloring to dye the first 2 parts and leave the third one uncolored. 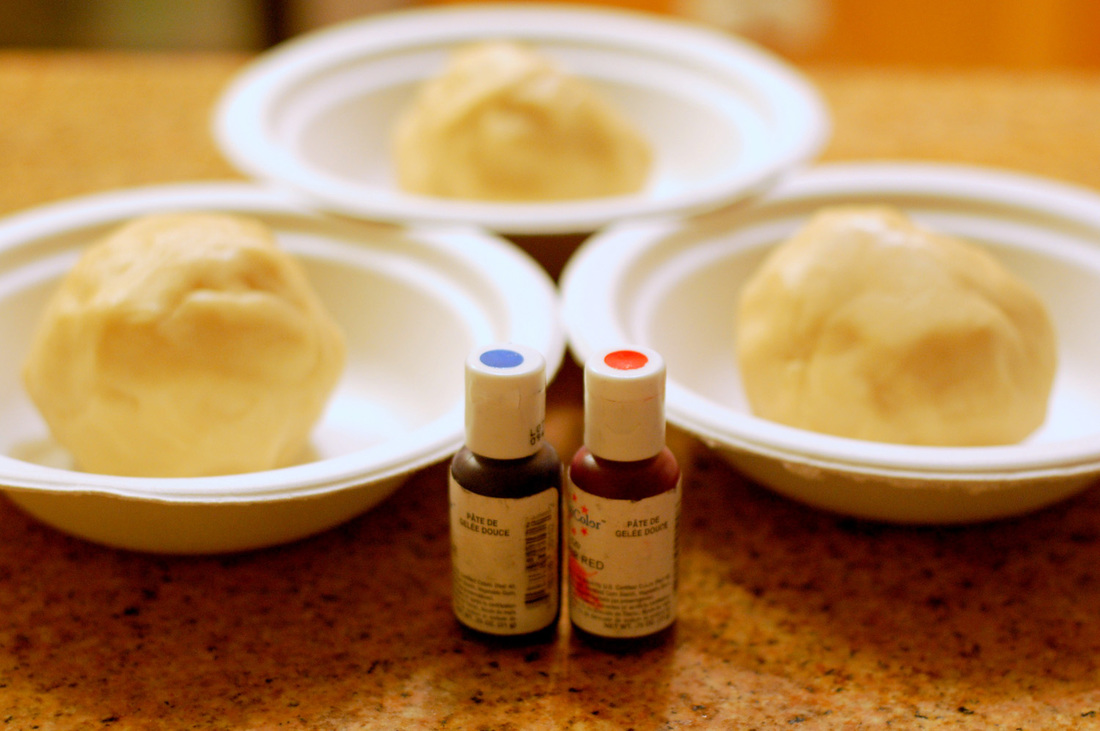
Start with the red ball. Roll out your dough until it’s approximately 0.15” thick. You will need to cut 1 rectangle that is 2.5” x 10” and 2 smaller one, each 1”x 10”. Roll the uncolored dough to the same thickness, but 2 rectangles 2.5” x 10” and one 1”x 10”.
Roll the blue dyed dough until it is 1” thick and cut one rectangle 1.5”x 10” 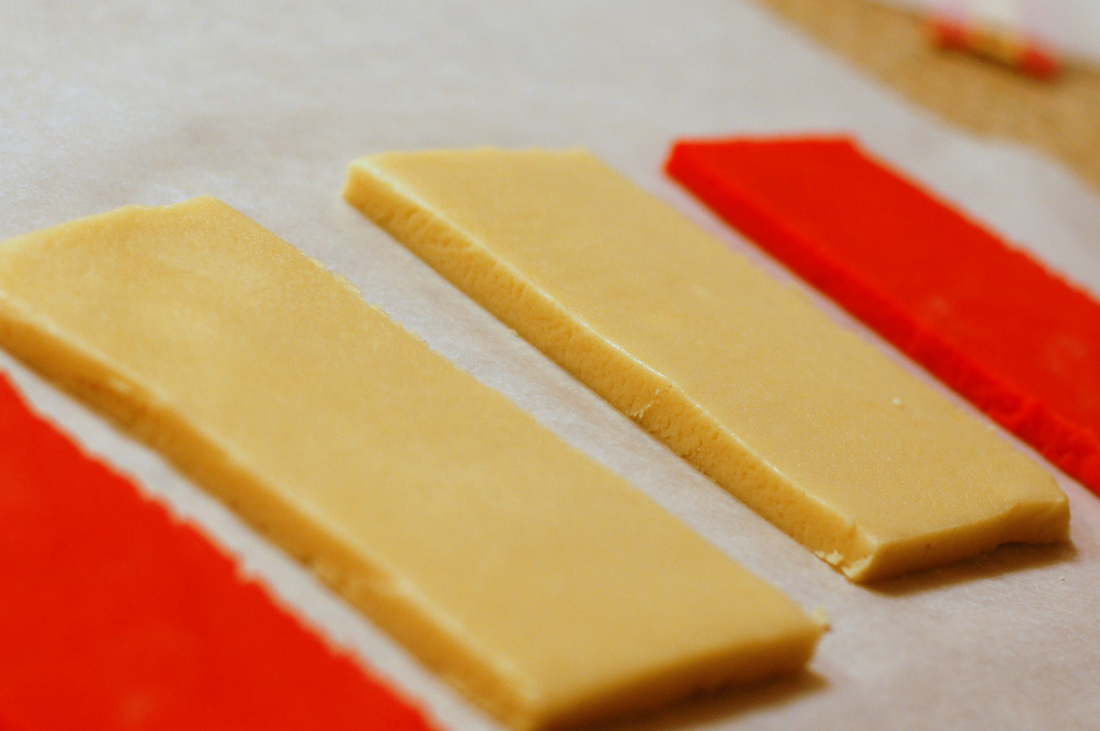
I know this probably sounds complicated, but look at the picture below. In order to make a flag you will have to stack the strips in the following order.

2.5”x10” uncolored (0.15” thick)
2.5”x10” red (0.15” thick) 2.5”x10” uncolored (0.15” thick) 1.5”x10” blue and next to the blue line up the smaller strips starting with the red one (1” thick) Here is how your dough should look when you are finished 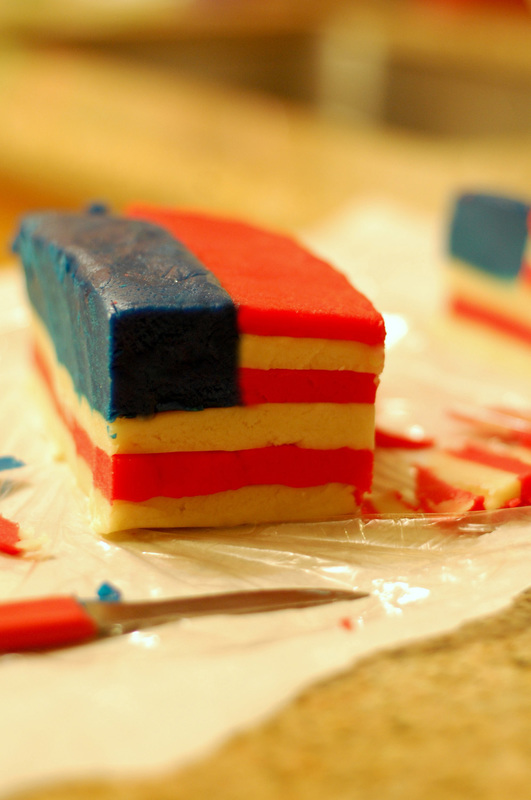
Wrap in clear plastic in put in the freezer for about 20 min.
Once it’s cooled and hard enough to cut, slice the dough to the desired thickness (if you like soft and chewy cookies, cut them a little bit thicker and for thin and crisp cookies, cut really thin) bake at 375 for approximately 7 – 8 minutes. Here is how my cookies came out 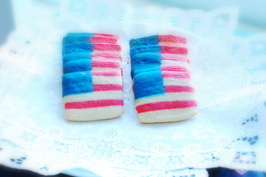
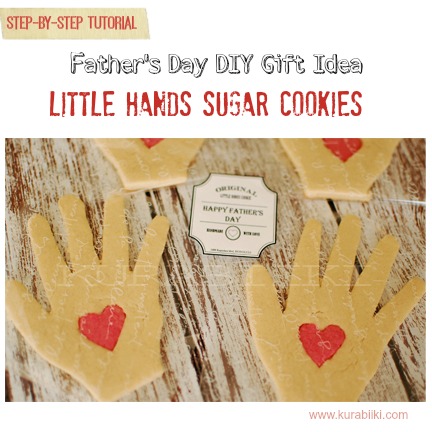
You may also be interested in "Father's Day DIY Gift Idea: Little Hands Sugar Cookies"
|
AuthorWelcome! I'm Silviya, a Mom of two beautiful girls and a wife to one amazing man. Find out more about me here Archives
January 2021
|
 RSS Feed