Kurabiiki- From Bulgaria with Love
  • Home
  • Portfolio
    • Cookies
    • CookieDecoratingParties
    • PorcelainDecoratingClasses
    • Parties

DIY Sugar Cookie Ring Tutorial

7/20/2016

2 Comments

 
Picture
When it comes to my little one, jewelry is always a win so when she wanted to have a “sparkly jewelry party” for her 6th, I convinced her that we could put a whole new twist on that idea with a daisy party instead, using Daisy Cookie Rings as edible jewelry! They were such a hit with the kids and the adults that I just had to share this fantastic dessert idea with you all! It is one that can easily be used for birthdays, engagements, anniversaries, favors and more. 
First the Cookie Dough
To start your adventure in cookie ring making, you need cookie dough of course! This recipe is inspired by the LilaLoa's  recipe and its a delicious starting point that is simple to create. 
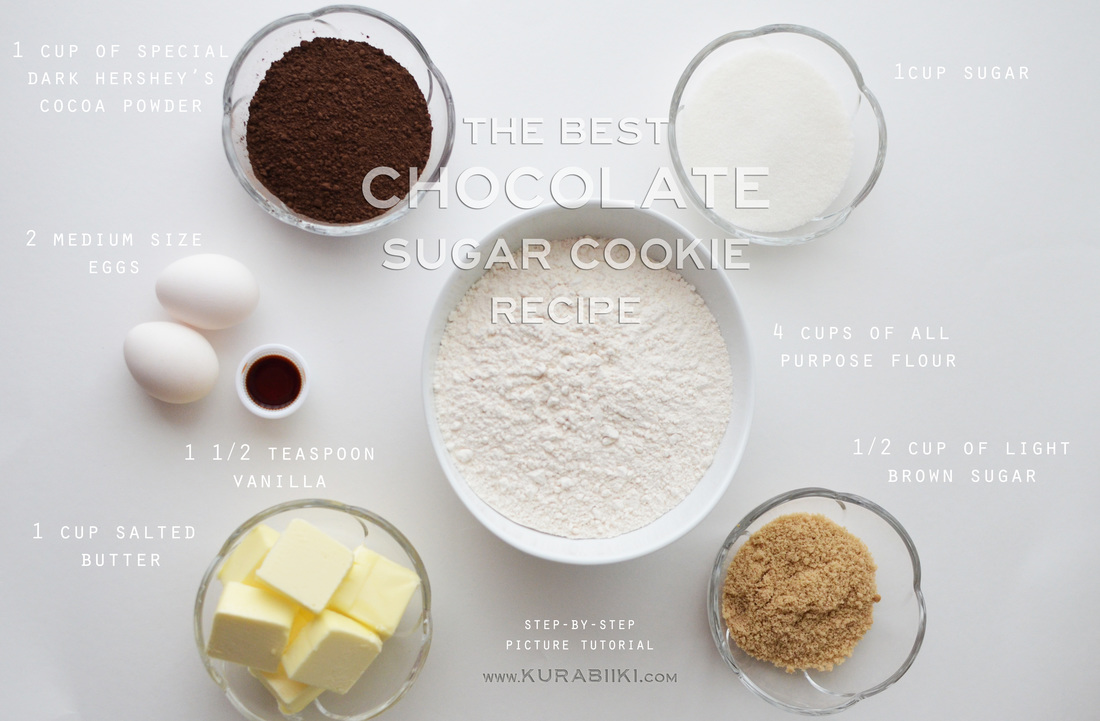
Picture
3-4Ingredients:
1 cup salted butter ( you can use unsalted as well, just add a pinch of salt) 
1 cup white sugar
½ cup light brown sugar

2 large sized eggs (17mm)
1 ½ tsp vanilla extract
1 cup dark cocoa powder
2.5 - 3  cups all purpose flour

Instructions:
  1. Place the salted butter in the mixer and beat for about 30 seconds
  2. Add in the white sugar
  3. Sift the brown sugar and add it in (Sifting beforehand helps to prevent lumps)
  4. Add the eggs and vanilla extract
  5. Sift the cocoa powder and flour together ( make sure you measure your ingredients before you sift) 
  6. Slowly add the flour and cocoa powder to the mixture one cup at a time, do not over mix.  (Over mixing your dough will result in a tougher, chewy cookies)
  7. Once it is all incorporated together, wrap the dough in plastic and refrigerate for 2 to 24 hours
How to Make Your Flower Cookie Rings
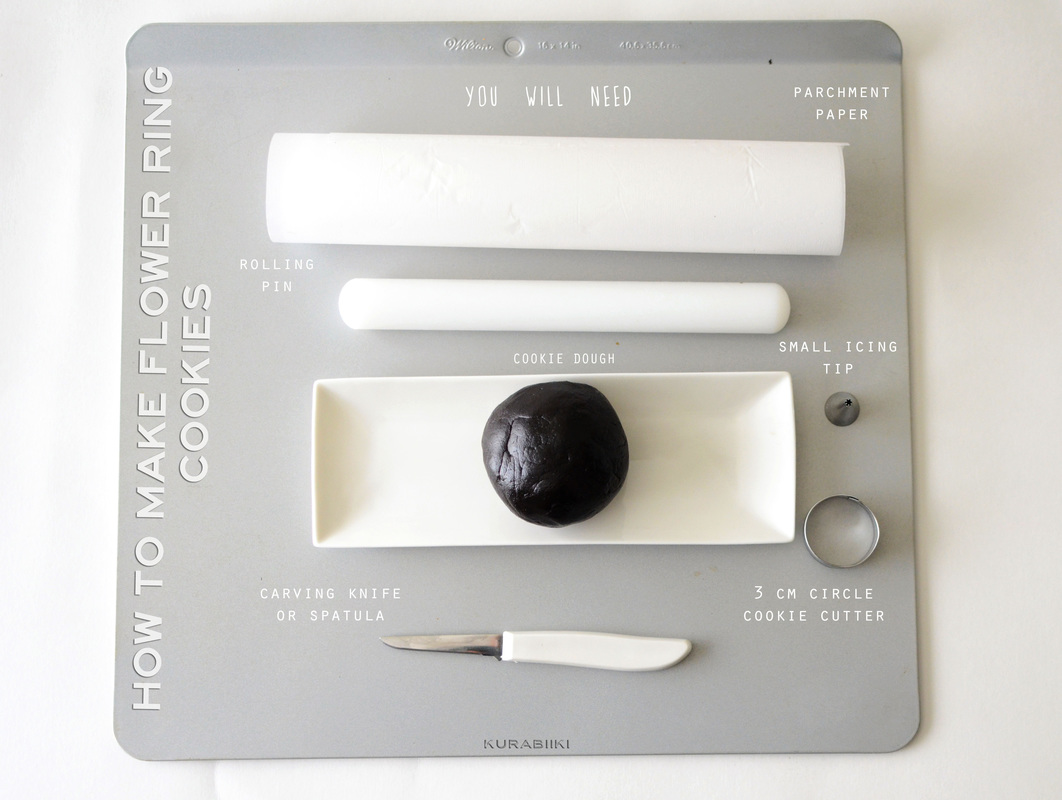
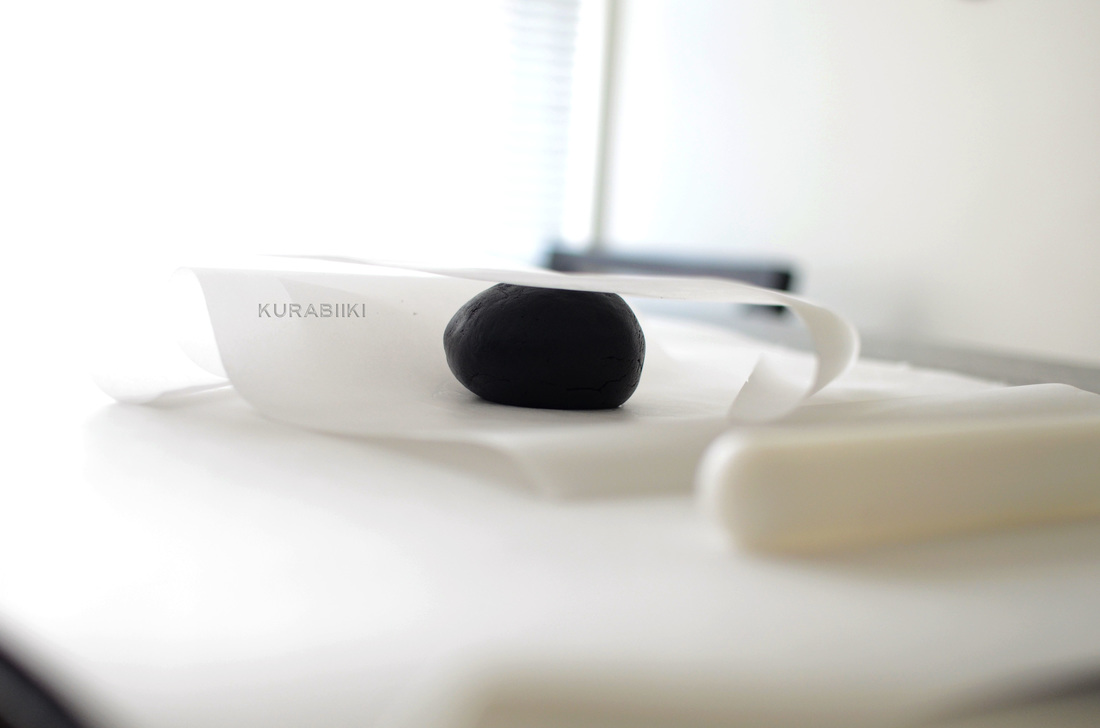
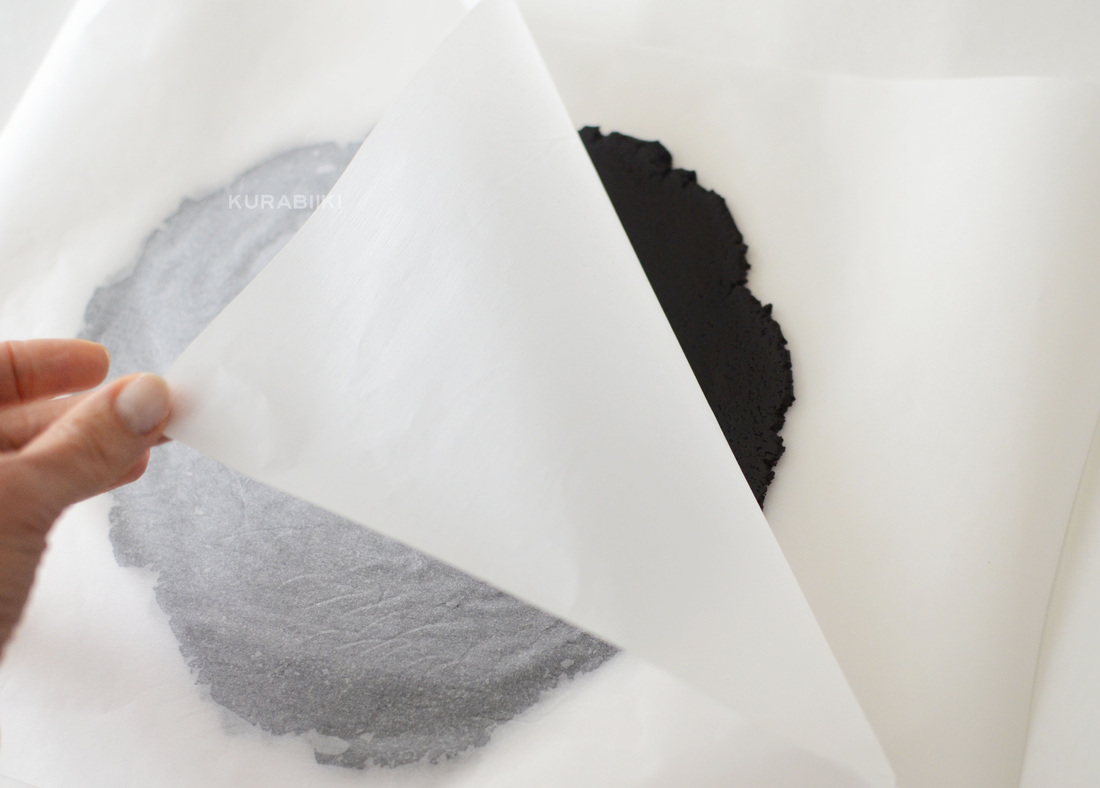
After you have gotten your dough nice and chilled it is time to make your rings. For this part you will need your dough of course as well as a cooling rack and parchment paper (or a sil pad). 
Picture
Making Cookie Rings
Items needed:
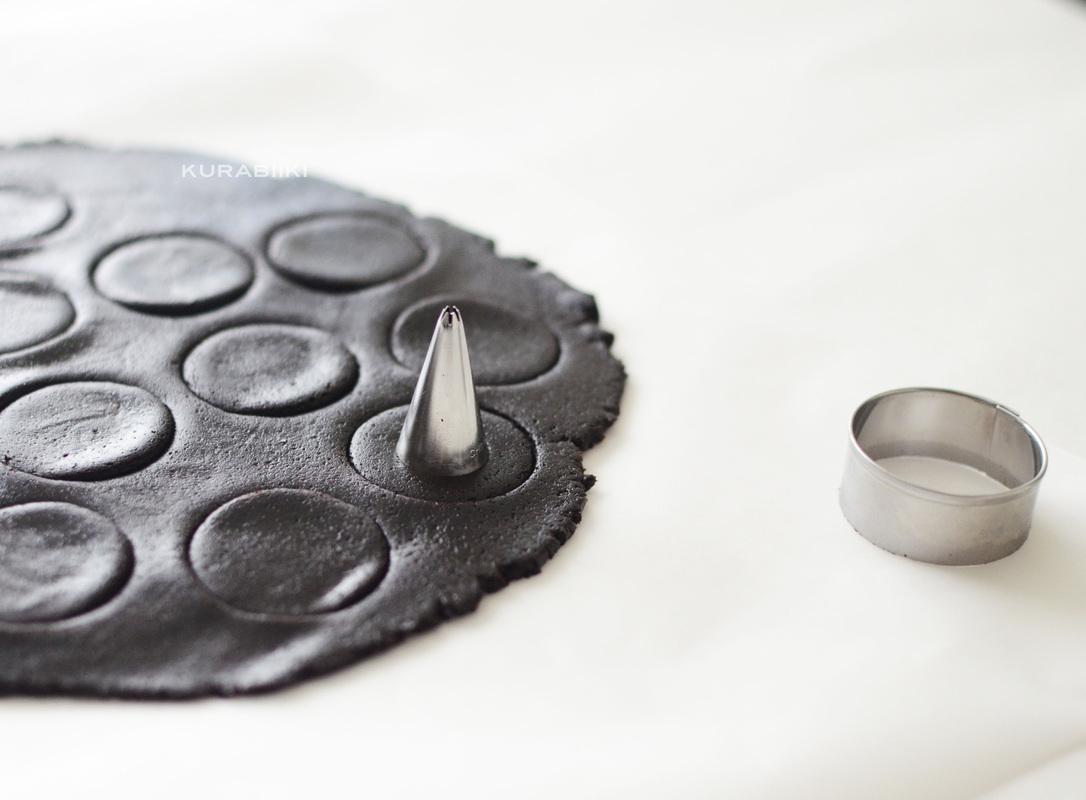
Chocolate cookie dough
Cooling rack
Parchment paper or sil pad
2 circle cookie cutters - 3.5 cm and 2 cm  Tip: You can use your icing tip if you have a hard time finding a small circle cutter
Rolling pin
Cookie sheet
Piping bag, coupler and Piping tip #104 - rose tip
Instructions:
 Preheat the oven to 375F.
  1. Cut about 5-6 sheets of parchment paper (if you are not using a sil pad) that match the size of your cookie sheet.
  2. Divide your dough into 4 to 5 pieces, this makes rolling it easier. Take a piece and place the rest in the refrigerator until needed. Chilled dough is simpler to cut shapes into.  
  3. Place the dough between two pieces of parchment paper and roll it out.  Tip: If at any point your dough starts to get too sticky, just place it back in the refrigerator for 15 to 20 minutes.
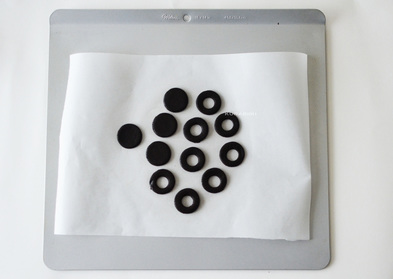
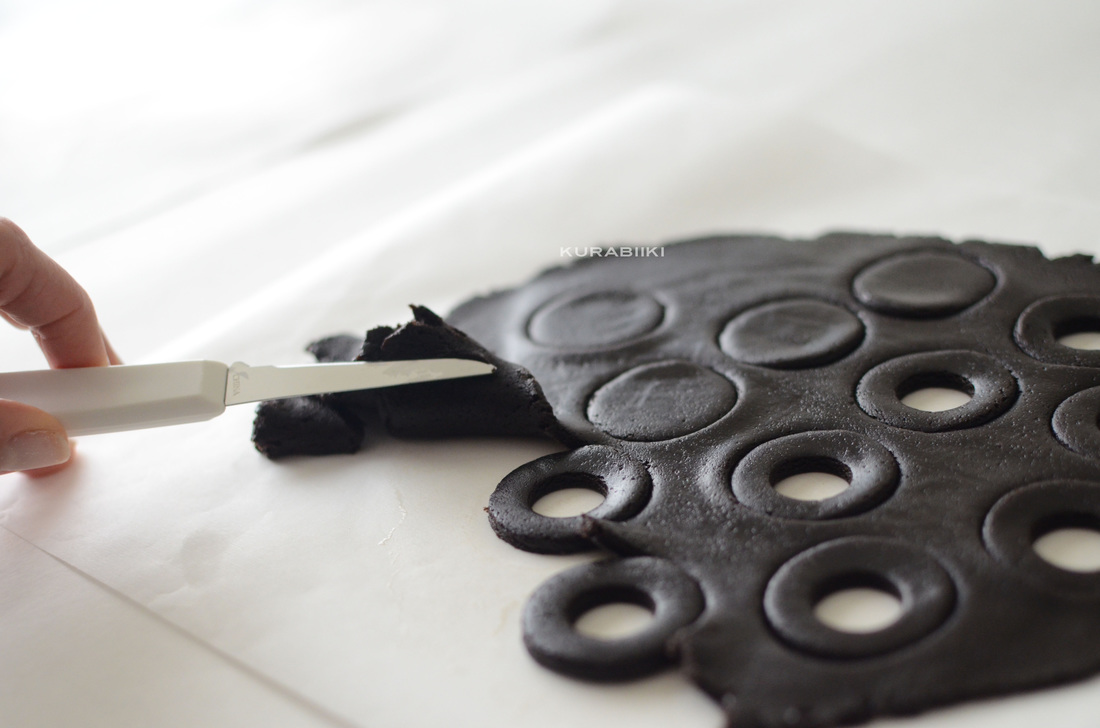
    5. Cut circles out with your bigger cookie cutter, leaving just a small space in between the cookies. Cut another circle inside of the big one.  This makes up the “ring” part of your cookie. You will need two ring pieces and one top for each cookie. The top is the same size as the ring, just made with one cutter and no smaller hole in the center.
   6.  Using a small knife or a pointed spatula, remove the extra dough from around the cookies.
  7. Slide the parchment paper (or sil pad) with the cookies onto the cookie sheet and bake for about 10-13 minutes. (baking time depends on the thickness of the cookies.)
Picture
Time To Make Some Icing
​In order for these cookies to become beautiful and tasty daisies, they will need some icing. In my royal icing recipe it turns out white, which is a typical daisy color of course.  You can always add some food coloring to create your own flowers for your special occasion.  In order to assemble the rings you will definitely need the icing so here is my Royal Icing Recipe!
How to Make Royal White Icing
Ingredients:
4 large egg whites
 
2 pounds of powdered sugar
 
Instructions:
  1. Mix with electric or stand mixer on high for about 3 minutes, until it forms a stiff peak. Cover the bowl with plastic wrap to prevent it from drying out.
Let’s Assemble the Rings
Now for the fun part, putting together the delightful and edible treats for your party!
 
Instructions:
  1. Take two ring sections and attach them together with a few drops of royal icing and let them dry for about 30 minutes.
  2. After they are set, take a top section of the cookie and attach it to the ring using a touch of icing. Set the ring upside down (top section on the flat surface) and let it dry for another 30 minutes.
  3. When set, it is time to pipe the flower. This can be tricky but with a little practice your flowers will look stunning!
  4. Using an icing bag and tip 104 - rose tip, you will be piping directly onto the top of your assembled cookie ring.  After frosting, the rings dry best if you hang them in a drying rack.  Tip: You can also pipe onto the rose nail - silver circle and transfer it onto the cookie.
  5. There are two styles that you can frost your cookie in to create unique flowers.
    1. Basic Flower Petals: When you look at your piping ring there is a narrow section and slightly wider section at the top.  With the narrow side downward pipe the frosting out at a slight angle towards the outside of the cookie.  In small sections create a waved look as you move the piping bag around the cookie in a circle, working from the outside in.
    2. Rose Style: Pipe a dot in the center and then holding the pipe vertically wrap small sections around the center working your way out to the end of the cookie.
Here is a short video of how I made the cookie rings. Follow me on Instagram for more Cookie Decorating Videos, Tips, tricks, recipes and more  https://www.instagram.com/kurabiiki
Questions? Comments?  Leave a note here on our Facebook Page 
2 Comments
Henry link
1/6/2021 02:08:51 pm

Appreciate this blog ppost

Reply
Henry link
1/10/2021 04:46:37 pm

Thanks forr a great read

Reply


Leave a Reply.

    Author

    Welcome! I'm Silviya, a Mom of two beautiful girls and a wife to one amazing man.  Find out more about me here

    Archives

    January 2021
    January 2020
    January 2019
    September 2017
    January 2017
    July 2016
    January 2016
    December 2015
    June 2015
    March 2014

    RSS Feed

  • Home
  • Portfolio
    • Cookies
    • CookieDecoratingParties
    • PorcelainDecoratingClasses
    • Parties